Images - PPI and DPI
For some, there seem to be some basic misunderstandings about images, PPI (pixels per inch) and DPI (dots per inch), and how this is considered in layout.
Starting with the Image Source
Let's imagine that we have taken a photograph with a camera. The camera will create an image file with a certain density of PPI, depending on camera settings. Once the file is created, this sense of density or PPI has no meaning, and what you really have is the data for an image having a width of a number of data points (referred to as pixels) of width, and a height of a number of data points.
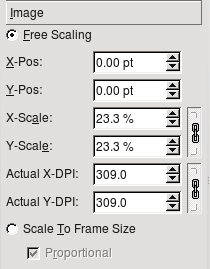
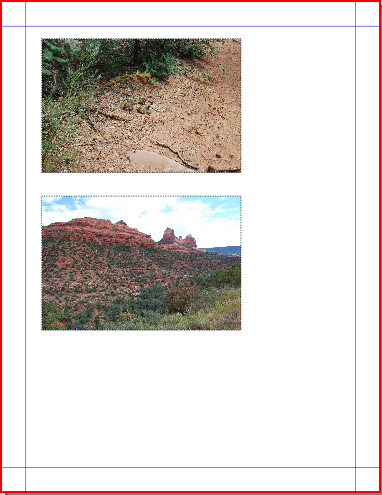
| At this point, the PPI is dependent on the display device and resolution. Here is an image cropped from a 2.6MB original, then scaled down for the wiki. After cropping but before scaling, it measured 1672 x 1032 pixels – amounting to a 942K file. At the default settings, Scribus would import this and display at 72 PPI, so the image frame would need to be 23.2 x 14.3 inches (589mm x 364mm).
However, if we are going create a PDF for print, we want a DPI of 300 or greater. At this higher resolution, we would need a frame 5.6 x 3.4 inches (142mm x 87mm). |
Image Handling in Scribus
All of this becomes important in Scribus not only because of the resulting resolution, but also because of how Scribus loads and uses image files. Although the image data is not included in a saved Scribus .sla file, when you are loading a file with images, the images are loaded into memory (RAM, or RAM + swap). Modern computer systems may have 1-2GB of RAM or even more, but not so much older systems may have 500MB or less. Less than 500MB will likely be frustrating for using Scribus in general, but even 500MB to 1GB can overload memory for a document with many images. It certain won't take many 5-10MB images to cause trouble.
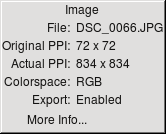
The answer to this is to crop whenever possible, and scale as needed, minding the final resolution required for your final PDF. Many image manipulation and display programs, such as Gimp, can show you this image information (press Alt+Return in Gimp to see it). This will show you your measurements at 72 DPI, and you can simply divide width in pixels by other DPI resolutions as needed. If you are already in Gimp you can then proceed to crop and scale as desired.
You can go the other way too. Let's say you have an image frame that must measure 4.5 inches (114mm) wide. For a PDF with 300 DPI, your image should be at least 300 x 4.5 = 1450 pixels wide.


