How to fill a Scribus text with an image
Jump to navigation
Jump to search
Please note that the effect probably might need a lot of computing power when it's applied to a larger text!
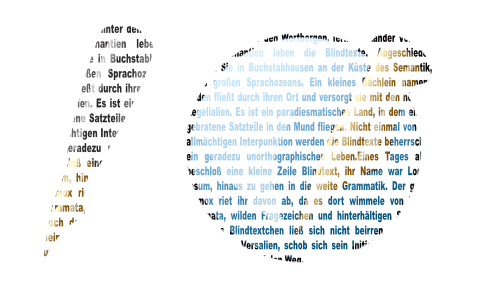
- Create a text frame and type your text, or load it from a file. Use a strong and bold font.
- Convert the text frame with Item > Convert to to outlines.
- Use Item > Combine Polygons.
- Change the new polygon via Item > Convert to to an image frame.
- Load an image into the new shape.
- At your option, play around with the fill and line colour. In this case both are set to "none":
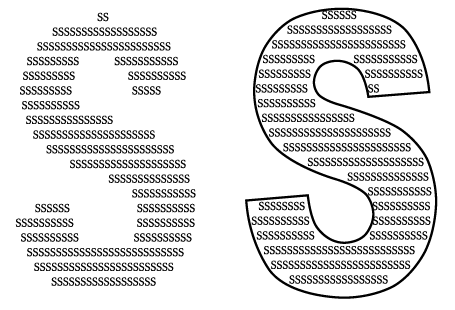
In a similar way, you can create "letters consisting of letters".
- Create a text frame and type one letter in it. Use a strong and bold font. Increase the size of that letter to a high value.
- Convert the text frame with the letter inside to outlines.
- Now, convert it back to a text frame.
- Double click it or use the Story Editor to add a lots of the same letters to that text frame:
(c) Thomas Zastrow, 2007 The content of this page is licenced under the Free Documentation Licence.

