Creating a circled diagram: Difference between revisions

From Scribus Wiki
Jump to navigation Jump to search
No edit summary
No edit summary
Line 30: Line 30:
|
|
* The text on the path is still editable – create three copies of the first text-on-path item, use the Story Editor to edit their content and move and rotate until the texts are all in the desired place above the ring.
See [[Text on a Path]] if you need more help.
|[[Image:Circled6b.png]]
|[[Image:Circled6b.png]]
|}
|}

Revision as of 15:47, 12 August 2007

This article is part of the Tips & Tricks series.
Installation Usage PDF issues Other

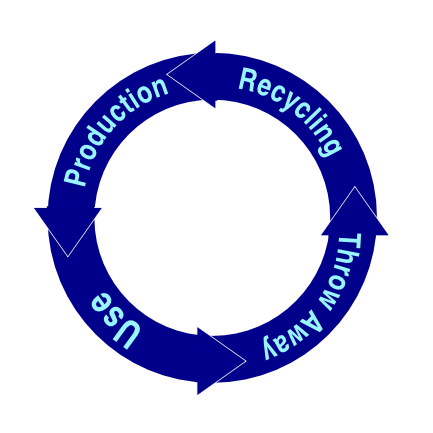
A diagram in circle style, often useful for presentations. It uses combined and grouped polygons and other elements, duplicating, a lot of rotating and the Attach Text to Path function.

Circled1.png

  • Create two round shapes, one of them needs to be a bit smaller than the other. Keep a copy of the smaller circle – you'll need it later for creating the text! Put the smaller one in the middle of the bigger one and use the command Item > Combine Polygons. That way, you will get a ring. Set the stroke colour to "None" and the fill colour to whatever you like.
Circled2.png
Circled3b.png
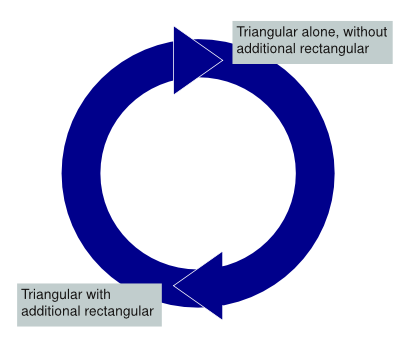
  • Now, we build the arrows. Create a new triangular shape and use the same fill colour you applied to the ring. Set the stroke colour to white.
  • Rotate the triangle, so that it points to one of the four directions we'll need
  • Place the triangle at its correct position above the ring.
  • To hide the triangle's white stroke above the ring on the triangle's long side, just draw a small, filled rectangular shape without the stroke's color above the triangle.
  • Group the triangular and the rectangular, create three duplicates, rotate the duplicates so that they are pointing to the four directions and place them above the ring.
Circled4.png
Circled5b.png
  • Now we add the text. Remember the copy of the small circle you made. Convert it to a bezier curve. Create a text frame with your text and use Item > Attach Text to Path. Move this text until it has its the correct position on the ring. You also have to play around with rotating until it fits perfectly.
  • The text on the path is still editable – create three copies of the first text-on-path item, use the Story Editor to edit their content and move and rotate until the texts are all in the desired place above the ring.

See Text on a Path if you need more help.

Circled6b.png

(c) Thomas Zastrow, 2007 The content of this page is licenced under the Free Documentation Licence.