Lines and Arrows

From Scribus Wiki
Jump to navigation Jump to search


Update.png
This article is outdated. Please update the information to reflect the current status or knowledge. We will deprecate/delete in the future.

Here is a pointer from the Scribus Archives about customizing the relationship between line thickness and arrow size.

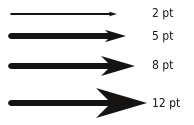
If you use the automatic adjustments in Properties > Line tab, you will see that after you assign an arrow style, adjustments in line thickness cause an automatic change in arrowhead size, illustrated here: Linearrow1.png

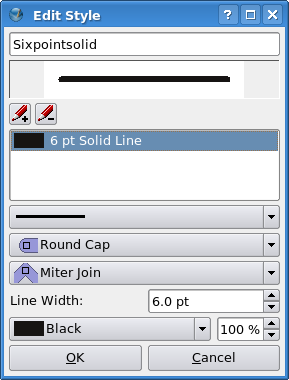
It's entirely possible that this size ratio doesn't suit you, so here is how to modify this behavior. First, adjust your line thickness so that the arrowhead size is correct. Now, create a line style, Edit > Line Styles (in 1.3.x, this will be in the new Styles Manager, Edit > Styles, then select New > Line Style).
from v1.3.3.x
v1.3.4 has a different layout, same settings
Keeping it simple for this example, here are the settings for a 6 pt solid black line style, which we then save and assign to our line -- you will see our new Line Style Sixpointsolid appearing as a choice at the bottom of the Line tab in Properties.
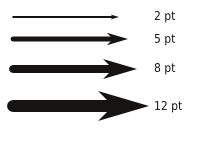
And here is the final result, with our new line style applied to all but the smallest arrow:

Note that if you change Color and/or Opacity of the Line Style, this will be applied to the arrowhead in the Scribus display. However, when you export to PDF, the arrowhead will have the color as defined in Properties > Colors > Line Color.

Linearrow2.png