Pattern: Difference between revisions
| (5 intermediate revisions by the same user not shown) | |||
| Line 33: | Line 33: | ||
Some other possible patterns - from upper left to lower right: a combination of rectangulars, filled with different gradients, an image frame as pattern, a polygon and a shape: | Some other possible patterns - from upper left to lower right: a combination of rectangulars, filled with different gradients, an image frame as pattern, a polygon and a shape: | ||
[[Image:PatternSC8.png]] | |||
== Managing Patterns == | |||
Via "Edit / Patterns" you can open a dialog to manage the tiles in the actual tile set: | |||
[[Image:PatternSC9.png]] | |||
If you want to create a new tileset, just create a new scrapbook, copy all your tiles to the scrapbook and save it to a directory. In the "Patterns" dialog, you can reload a scrapbook as a set of tiles with "Load Set". | |||
---- | |||
''This text was written by [http://www.thomas-zastrow.de Thomas Zastrow], 2009 and published under Free Document License.'' | |||
Latest revision as of 18:38, 16 August 2009
Working with Patterns
Since version 1.3.4 (?), Scribus contains a new type of filling objects: patterns. This means, that you can define any Scribus object - or group of objects - as a pattern and use it for filling other objects.
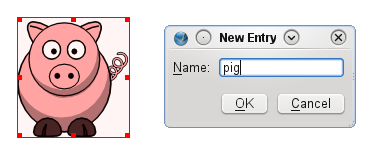
For example, download a SVG clipart from openclipart.org and import it into Scribus via "File / Import Get Vector File". Right click on the drawing and use "Send to Patterns". Scribus will ask you for a name for the new pattern:
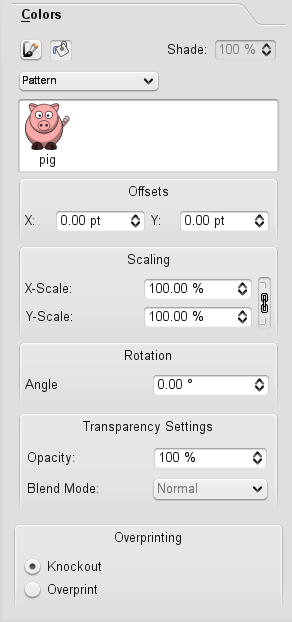
Now, mark another Scribus object and go to the "Colors" tab on the properties palette. Here, activate the "Fill" option and select "Pattern" in the drop down menu:
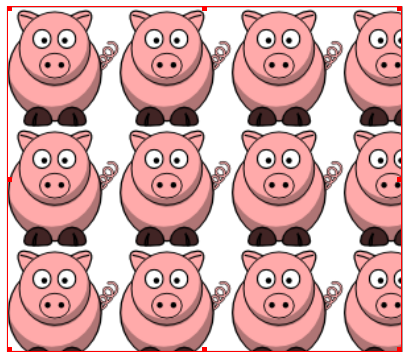
Click on your new pattern and you will see the result immediately:
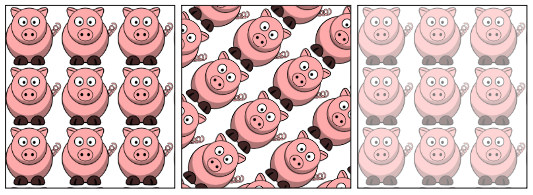
On the properties palette, you can set some properties for your pattern. From left to right: a scaled pattern (50%), a turned pattern (45°), transparency set to 50%:
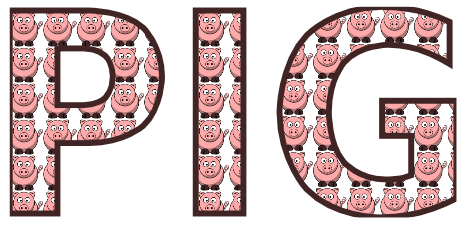
Unfortunately, its not possible to fill text with a pattern. Here, we can again use the old trick to convert a text to outline via "Item / Convert to / Outline".
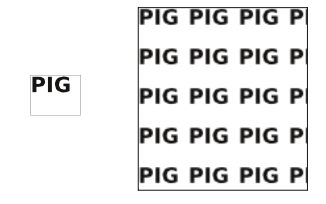
Don't forget, after converting to outlines, the text can not be edited as text anymore. The other way around, using a textframe as pattern, is no problem:
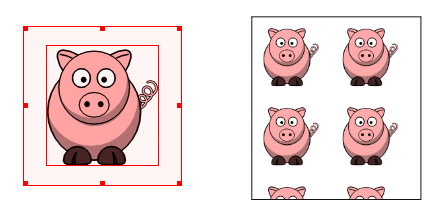
At the moment, it is not possible to add some space around the single tiles of a pattern. A short workaround here, is to create an empty frame which is a little bit bigger than the tile itself and place it behind the tile. Group the tile and the empty frame behind it (without grouping, it will not work) and send it to patterns:
Some other possible patterns - from upper left to lower right: a combination of rectangulars, filled with different gradients, an image frame as pattern, a polygon and a shape:
Managing Patterns
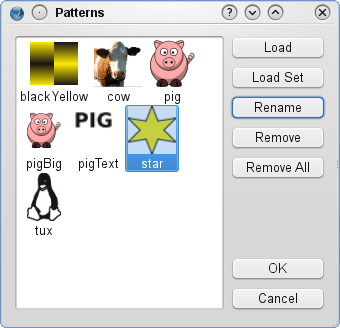
Via "Edit / Patterns" you can open a dialog to manage the tiles in the actual tile set:
If you want to create a new tileset, just create a new scrapbook, copy all your tiles to the scrapbook and save it to a directory. In the "Patterns" dialog, you can reload a scrapbook as a set of tiles with "Load Set".
This text was written by Thomas Zastrow, 2009 and published under Free Document License.
