Text over images: Difference between revisions
Jump to navigation
Jump to search
C schaefer (talk | contribs) mNo edit summary |
No edit summary |
||
| Line 1: | Line 1: | ||
{{TIP Index}} | {{TIP Index}} | ||
When placing a | When placing a text frame over an image, the problem often occurs that the colour of the text and the underlying images are interfering. Here are two simple tricks to avoid this. | ||
[[Image:Sc2.png]] | [[Image:Sc2.png]] | ||
Revision as of 00:37, 13 August 2007
| Installation • Usage • PDF issues • Other |
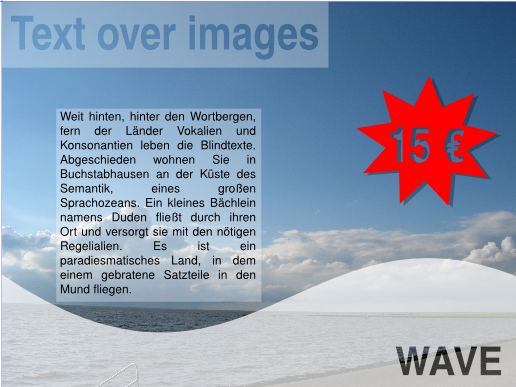
When placing a text frame over an image, the problem often occurs that the colour of the text and the underlying images are interfering. Here are two simple tricks to avoid this.
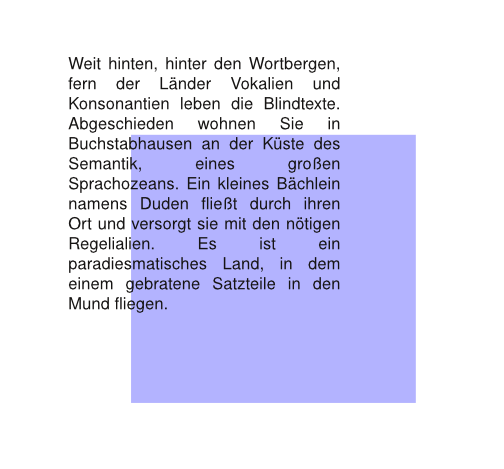
- Create a rectangular shape with approximately the same size as your text frame, fill it with white or another color, set its opacity to 30% or another value smaller than 100% and put it under your text, but above the image:
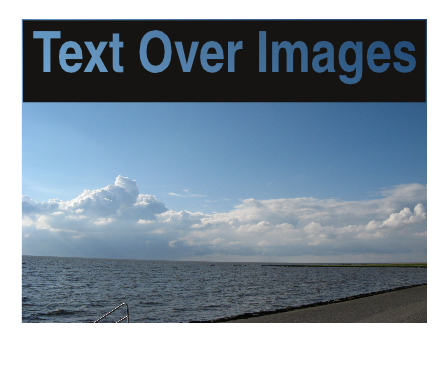
- Create a text frame for your text, convert it to outlines by using Item > Convert to Outlines. Move it over a shape, for example a rectangular. Select both objects and use Item > Combine Polygones. If you move the new object over an image now , the image can be seen through the text:
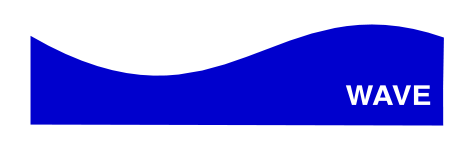
- The "wave" has been produced in a similiar way: I started with a rectangular shape. By using Edit shapes > Move Control Points in the Shape tab of the Properties Palette, the points of the shape can be re-arranged and changed to curves:
- In this case, a polygon with 7 corners and an applied factor of -45 was used to create a star. As described above, the price is "embossed" into the star and a duplicate of the result is used as a shadow:
(c) Thomas Zastrow, 2007
The content of this page is licenced under the Free Documentation Licence.
