Creating borders
Jump to navigation
Jump to search
| Installation • Usage • PDF issues • Other |
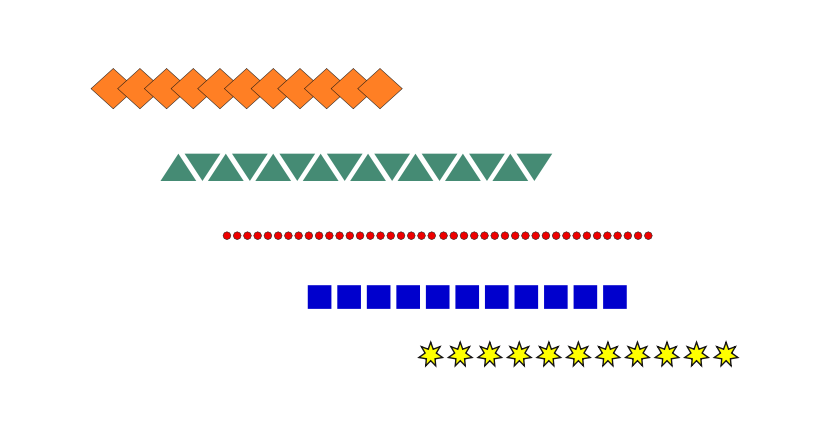
For certificates, images or similar things sometimes complex borders are needed. This is a very simple trick that simply uses the duplicating functions for some shapes and – at your option – the combining of shapes. The results can be used in a lot of ways.
- We start with the creation a polygon or a shape which will be the basis for the border. In this case, it's a polygon with four corners.
- Use Item > Multiple Duplicate and create 10 – or any other number of – duplicates with a horizontal shift that is slightly smaller than the width of the original shape. Vertical shift is 0.
- At your option, use Item > Combine Polygons.
- Duplicate the resulting object, rotate it and build a border for an image.
- With some white circles, combined with a paper-coloured rectangle, you can build a memo.
- By the way, this seems to be the only way to build a dotted line from circles in Scribus :-)
Note: As of Scribus 1.4 you can create fancy borders by using line styles. This article shows you how: Creating a 3D-effect border.
(c) Thomas Zastrow, 2007
The content of this page is licenced under the Free Documentation Licence.


