Shadows around/behind images: Difference between revisions
| Line 28: | Line 28: | ||
As with many tasks in Scribus, you will always want to be reusing these frames by copying. In addition, you might make a group of the image frame and its shadow, then copy and use that group, later ungrouping so that you can load a new image, which will save a lot of time and keep the relationship consistent. | As with many tasks in Scribus, you will always want to be reusing these frames by copying. In addition, you might make a group of the image frame and its shadow, then copy and use that group, later ungrouping so that you can load a new image, which will save a lot of time and keep the relationship consistent. | ||
====And Beyond==== | |||
So finally, we come to this example: | |||
[[Image:Smiley1.png]] | |||
Revision as of 01:35, 25 June 2010
This is a frequent request or question on the mailing list: "How do I make a shadow behind an image?". The idea, of course, is to create a pseudo-3D effect, as if the image is floating over the page. Shadows may be a bit overrated, after all, your layout should about the content not the special effects. Nonetheless, let's assume you'll be using this judiciously, and you really want to do it.
Compared to various other software programs, such as Gimp, for example, Scribus does not have a built-in way to create such effects.
The simplest way to this is to duplicate your image frame (Hint: Use Multiple Duplicate, where you can specify the offset), then convert to a Polygon, changing the background color, maybe the Opacity, and you get something like this:
Admittedly, this is not what most are looking for, with these hard edges.
Trying a Gradient
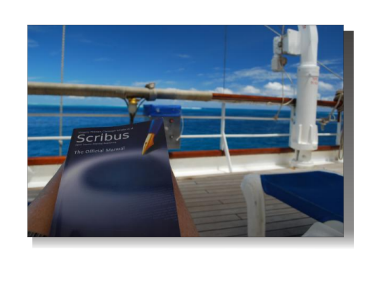
Let's try some manipulation of that rectangle, all still within Scribus. We'll add a vertical gradient and then manipulate the opacity to get something a bit softer:
Certainly better. I would add here that I attempted something a bit more complex – instead of using a rectangle shape, using two triangles, as if the rectangle was divided up into two halves diagonally. This way, you could have one triangle use a vertical gradient, the other use a horizontal gradient, so both exposed edges have a softer look.
Unfortunately, this creates a diagonal line which could not be eliminated with various attempts at adjusting positions and settings. If you don't mind that, you might consider trying it out. The more I looked at it, the more bothersome it was to me.
Going for It
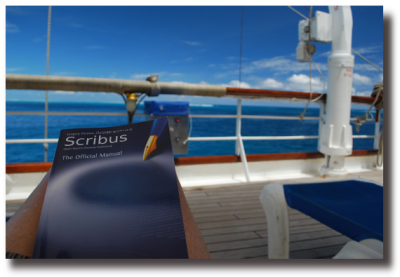
This may be more what you had in mind in the first place, and you may find it worth the additional work:
This was accomplished by making the rectangular shape in Inkscape, then applying a Simple Blur to the edge (Filters > ABCs > Simple blur). It would be convenient if you could save as an SVG and import into Scribus as a vector, but unfortunately Scribus cannot manage the blur feature.
Instead, export as a bitmap from Inkscape, making a reasonably large file (perhaps 300ppi). Now you can import into an image frame and adjust dimensions, adjust the transparency as needed. When you use transparency, a relatively dark color of your rectangle will allow for more flexibilty in the results.
As with many tasks in Scribus, you will always want to be reusing these frames by copying. In addition, you might make a group of the image frame and its shadow, then copy and use that group, later ungrouping so that you can load a new image, which will save a lot of time and keep the relationship consistent.
And Beyond
So finally, we come to this example:


