Rounding Complex Shapes: Difference between revisions
Jump to navigation
Jump to search
No edit summary |
|||
| (7 intermediate revisions by 2 users not shown) | |||
| Line 1: | Line 1: | ||
{{HOWTO Index}}[[Category:Tips]] | |||
{| width=90% | {| width=90% | ||
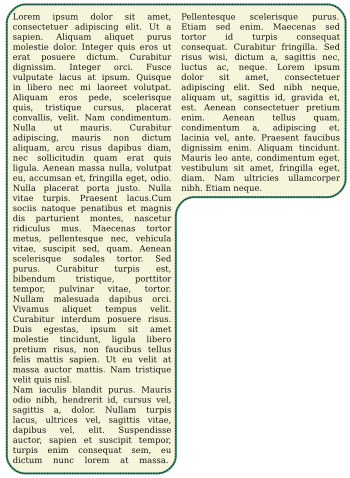
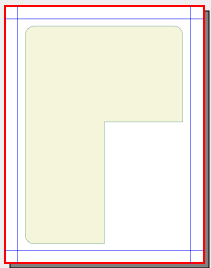
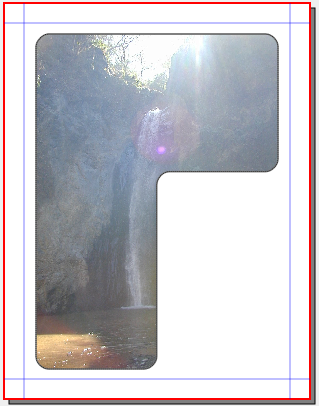
|Someone posed a question on Scribus List about how to make the rounded corners of a shape like this. Making the inverted L-shape is easy enough in one of various ways, one being to make a very large letter L in a text frame, then ''Convert To > Outlines'', after which you flip it, resize it a bit, then ''Convert To > Text Frame''. | |Someone posed a question on Scribus List about how to make the rounded corners of a shape like this. Making the inverted L-shape is easy enough in one of various ways, one being to make a very large letter L in a text frame, then ''Convert To > Outlines'', after which you flip it, resize it a bit, then ''Convert To > Text Frame''. | ||
| Line 34: | Line 35: | ||
===Making a Rounding Tool – With a Square=== | ===Making a Rounding Tool – With a Square=== | ||
{| | {| cellpadding=5px | ||
|[[Image:RoundingFrame7.png]] | | valign=top |[[Image:RoundingFrame7.png]] | ||
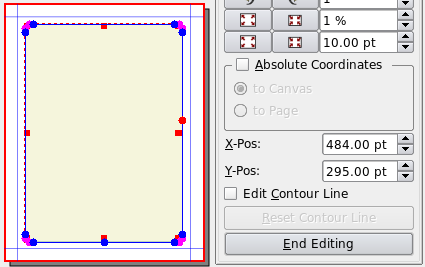
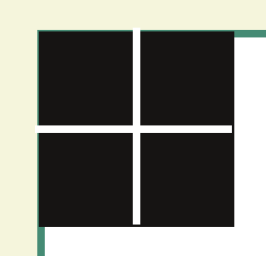
| width=575px |Here is our rounding tool, made up of a square 25 pts on each side (from the Round Corners setting), with superimposed vertical and horizontal lines positioned at the midpoints of each side. The colors are unimportant, just made to contrast with each other and with the colors of our frame. | | width=575px |Here is our rounding tool, made up of a square 25 pts on each side (from the Round Corners setting), with superimposed vertical and horizontal lines positioned at the midpoints of each side. The colors are unimportant, just made to contrast with each other and with the colors of our frame. | ||
| Line 41: | Line 42: | ||
''For the greatest accuracy of measurements when making these shapes, make sure the Line color is "None". | ''For the greatest accuracy of measurements when making these shapes, make sure the Line color is "None". | ||
Once you see how this is done, you will also realize that you could make rounded corners without the tool, but once you have the tool, the process is quicker, and you know you have consistent results for each corner. | |||
|} | |} | ||
{| | {| | ||
| Line 49: | Line 52: | ||
Use whatever page magnification helps you do this job with as much precision as you feel is necessary. | Use whatever page magnification helps you do this job with as much precision as you feel is necessary. | ||
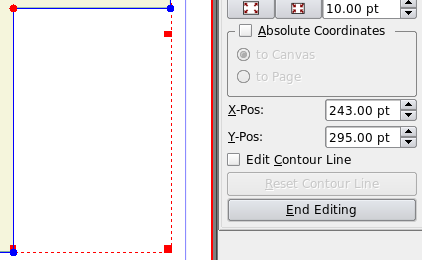
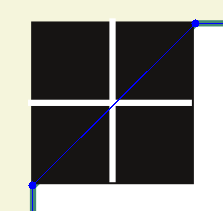
See how our tool is carefully lined up so its edges coincide with the edges leading to this inner corner, which you can't see because the rounding tool is on top. | See how our tool is carefully lined up so its edges coincide with the edges leading to this inner corner, which you can't see because the rounding tool is on top. Since we know the X-Pos, Y-Pos values of the corner, we can easily transfer these to our rounding tool to save time. | ||
|} | |} | ||
{| | {| | ||
| Line 76: | Line 79: | ||
{| | {| | ||
|[[Image:RoundingFrame14.png]] | |[[Image:RoundingFrame14.png]] | ||
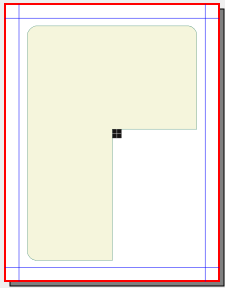
|width=250px|A rounding tool for a shape that has something other than a 90 degree angle. This tool began as four squares 12 pts on a side, separated by a 1 pt space, then ''Item > Combine Polygons''. The advantage was then being able to skew the figure and keep all components lined up properly. | |width=250px|A rounding tool for a shape that has something other than a 90 degree angle. | ||
This tool began as four squares 12 pts on a side, separated by a 1 pt space, then ''Item > Combine Polygons''. The advantage was then being able to skew the figure and keep all components lined up properly. | |||
|[[Image:RoundingFrame15.png]] | |[[Image:RoundingFrame15.png]] | ||
|} | |} | ||
Latest revision as of 01:59, 16 November 2014
| Installation • Usage • PDF issues • Imposition • Other |
