Rounding Complex Shapes: Difference between revisions

From Scribus Wiki
Jump to navigation Jump to search
Line 29: Line 29:
{|
{|
|[[Image:RoundingFrame5.png]]
|[[Image:RoundingFrame5.png]]
| width=200px |And here we have our basic shape, with 3 corners rounded, 3 more needing rounding. See for yourself if you wish by clicking End Editing that Round Corners is now inoperative in the Shape tab. Now we need to get to work, but maybe it's not as much as it seems with the right preparation.
| width=150px |And here we have our basic shape, with 3 corners rounded, 3 more needing rounding. See for yourself if you wish by clicking End Editing that Round Corners is now inoperative in the Shape tab. Now we need to get to work, but maybe it's not as much as it seems with the right preparation.
|[[Image:RoundingFrame6.png]]
|[[Image:RoundingFrame6.png]]
|}
|}

Revision as of 00:29, 23 April 2008

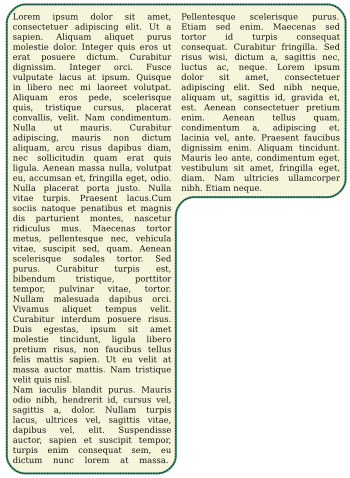
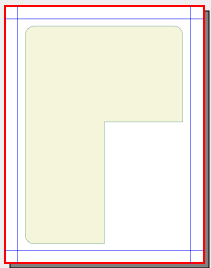
Someone posed a question on Scribus List about how to make the rounded corners of a shape like this. Making the inverted L-shape is easy enough in one of various ways, one being to make a very large letter L in a text frame, then Convert To > Outlines, after which you flip it, resize it a bit, then Convert To > Text Frame.

Ideally, one would like to use the Round Corners feature in the Shape tab, but this is not operational once you have a complex figure such as this, even if you start with a shape that you edit.

What I want to show here is step-by-step how to get to this end result with Scribus.

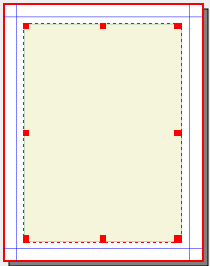
Begin with a rectangular shaped frame – it could be a text frame or the rectangle shape, but for the screenshots you see I've used a rectangle shape, then modified the default background and line colors. Enlarge it to the dimensions you wish, and it's worth making your dimensions nice even numbers and perhaps have page units small, such as either points or millimeters. So here's our beginning frame, viewed at a much smaller magnification:

RoundingFrame1.png

RoundedL.png

Beginning Transformation

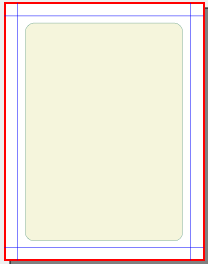
First, we'll round the corners in the Shape tab. The reason for doing this is that in the end it will save us from manually rounding 3 out of our 6 eventual corners.

Go to Shape tab and run up Round Corners to 25 pts or whatever you like, but remember this value, we're going to use it soon.

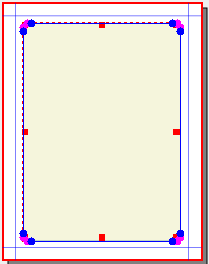
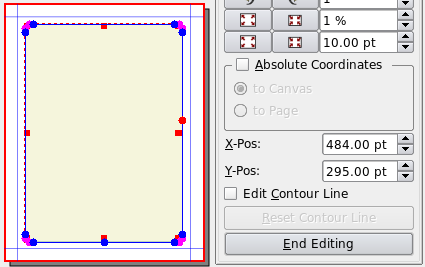
RoundingFrame2.png RoundingFrame3.png Now we have selected the frame and then clicked Edit Shape in the Shape tab, so we now see our nodes.

First, we want to add some nodes, one on the right-hand side of the frame, the other at the bottom.

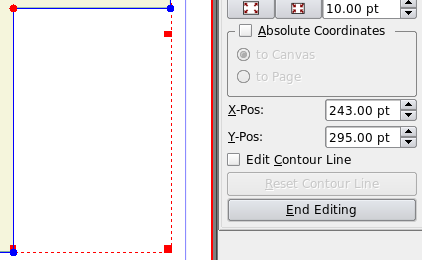
Here are our added nodes, along with the lower part of the Edit Shape dialog. The node in red corresponds to the X-Pos and Y-Pos values you see – once again, round number make it easier for what comes next. RoundingFrame4.png Now delete both nodes in the lower right corner. We will make a new node, but by deleting these we avoid needing to fiddle with these control points. Now, add a new node anywhere along the path between the nodes we just made, then move this latest new node to an X-Pos corresponding to the new node at the bottom, and a Y-Pos corresponding to the new node along the right side.
RoundingFrame5.png And here we have our basic shape, with 3 corners rounded, 3 more needing rounding. See for yourself if you wish by clicking End Editing that Round Corners is now inoperative in the Shape tab. Now we need to get to work, but maybe it's not as much as it seems with the right preparation. RoundingFrame6.png