Tekst na krzywej: Difference between revisions
Jump to navigation
Jump to search
No edit summary |
No edit summary |
||
| Line 2: | Line 2: | ||
[[Category:JTZ]] | [[Category:JTZ]] | ||
{{TOC_sidebar_PL}} | {{TOC_sidebar_PL}} | ||
'''Tłumaczenie w toku''' | |||
This page is to briefly show something about how to place text on a path in Scribus. | This page is to briefly show something about how to place text on a path in Scribus. | ||
Revision as of 16:00, 5 December 2006
- Linkownia
- Zrobione w Scribusie
- Gazety i czasopisma
- Polska lokalizacja Scribusa
- Darmowe polskie fonty
- Słowniczek pojęć z DTP
- Pierwsze kroki ze Scribusem
- Praca z ramkami tekstowymi
- Praca z ramkami graficznymi
- Praca ze stronami wzorcowymi
- Praca w Edytorze artykułów
- Tekst na krzywej
- Scribus w Ubuntu Linux
- Klik i Scribus działa
- Instalacja za pomocą Cmake
- Tworzenie spisu treści
- Formularze PDF
- Kolory dodatkowe
- Obrazek ze ścieżką odcięcia
- Instalacja profili ICC
- Dodawanie fontów
- Import grafik EPS
- Zawieszone spójniki
- Twój pierwszy artykuł
- Tworzenie hiperłączy
- Zarządzanie kolorami
- Skąd pobrać Scribusa?
- Podgląd wydruku nie działa
- Scribus dla MacOSX?
- Dodawanie fontów
- Scribus po polsku
- Type 1 i ligatury
- Automatyczne numery stron
- Interlinia w Scribusie
- Pierwsze kroki z DTP
- Skalowanie obrazka w ramce
- Export do PDF/X-3
- Ligatury i cyfry nautyczne?
- Pomoc w rozwoju Scribusa
- Przykładowe dokumenty
- Zgłaszanie błędów
- Słowniki dzielenia na sylaby
Tłumaczenie w toku
This page is to briefly show something about how to place text on a path in Scribus.
First Steps
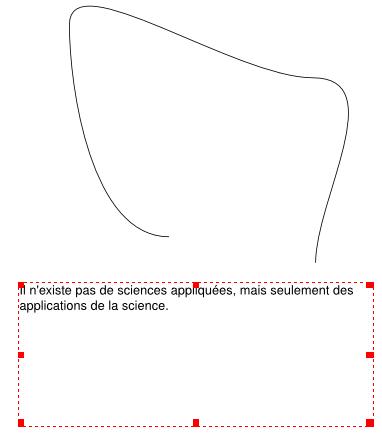
| Looking at this first screenshot, we see an arbitrary line and a text frame with a quote from Louis Pasteur. The text frame is a usual text frame, created at an arbitrary location on the page, then Story Editor used to enter this text. You can attempt to set the font and size this text properly, but as we'll see this isn't worth spending too much time on, since we can edit these features later.
This particular line was made from a circle shape, converted to a Bezier Curve (Context Menu: Convert to > Bezier Curve or Item > Convert to > Bezier Curve), broken, then edited to the form you see here. Even if you do not edit your shape or polygon, it is important to convert to a Bezier Curve for Text on Path to work. |
Now, the Magic
Next, select both the curve and the text frame -- the easiest way may be to outline with the mouse using the left mouse button in Select Item mode.
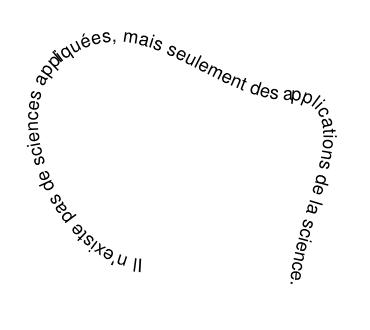
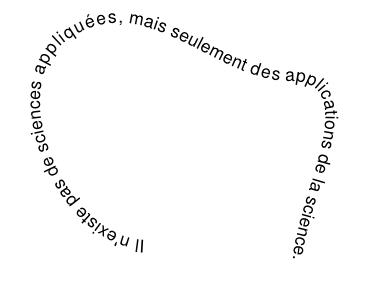
Now click on Item > Attach Text to Path, and you get the result here (shown after resizing text to fill the line).


